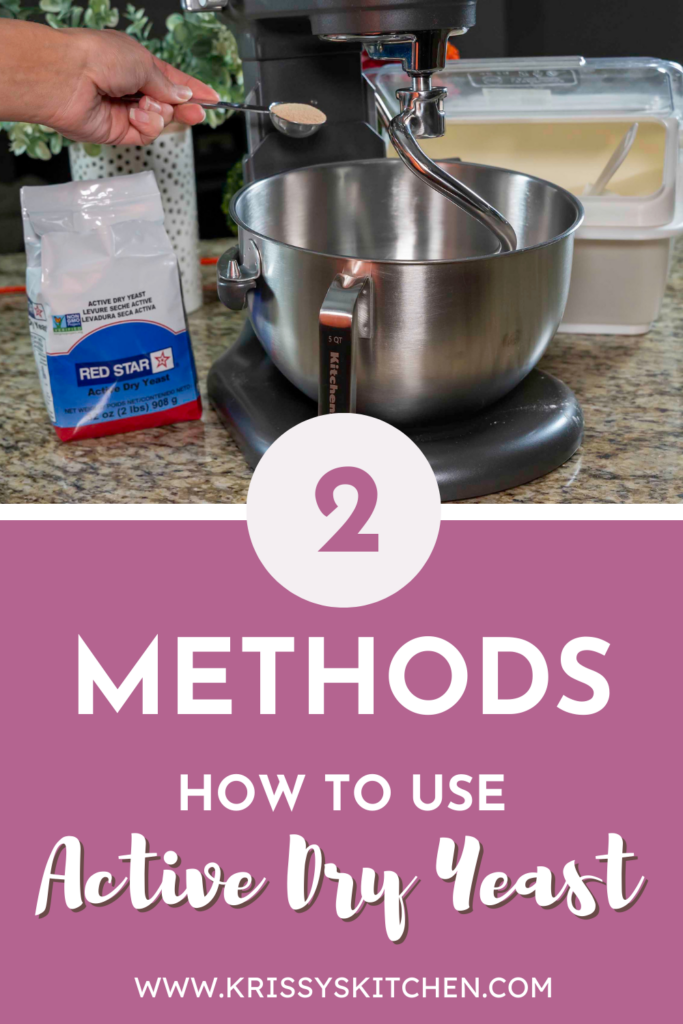
Two Methods for How to use Active Dry Yeast
There are so many factors that go into baking and to be honest, they made me nervous. One of those factors was not knowing how to use active dry yeast. It paralyzed me from baking.
Baking is a science…art project, haha. But really… the art of baking is practiced and perfected over time and the science part can be learned. I literally spent my whole life saying I am not an artist and am terrible at science, but after learning and practicing, I now say, I am a pretty good artist and a scientist… who knew?
Learning how to use active dry yeast was one of those things I struggled wanting to do because I always thought I would ruin my dough if I did it wrong. And, although that can be true, it is definitely easier than I ever thought, and If you follow a few rules, learn the science behind it, you will have no problems and won’t ruin your dough like I worried I would.
Before we talk about the 2 methods, lets go over a couple rules first.
Rule #1 Always use warm water
Although I have suggested using cold water when using instant yeast, active dry yeast needs to be activated by warm water. If you use cold water, the yeast will not activate properly and you actually can ruin your dough (my biggest fear learning how to use active dry yeast).
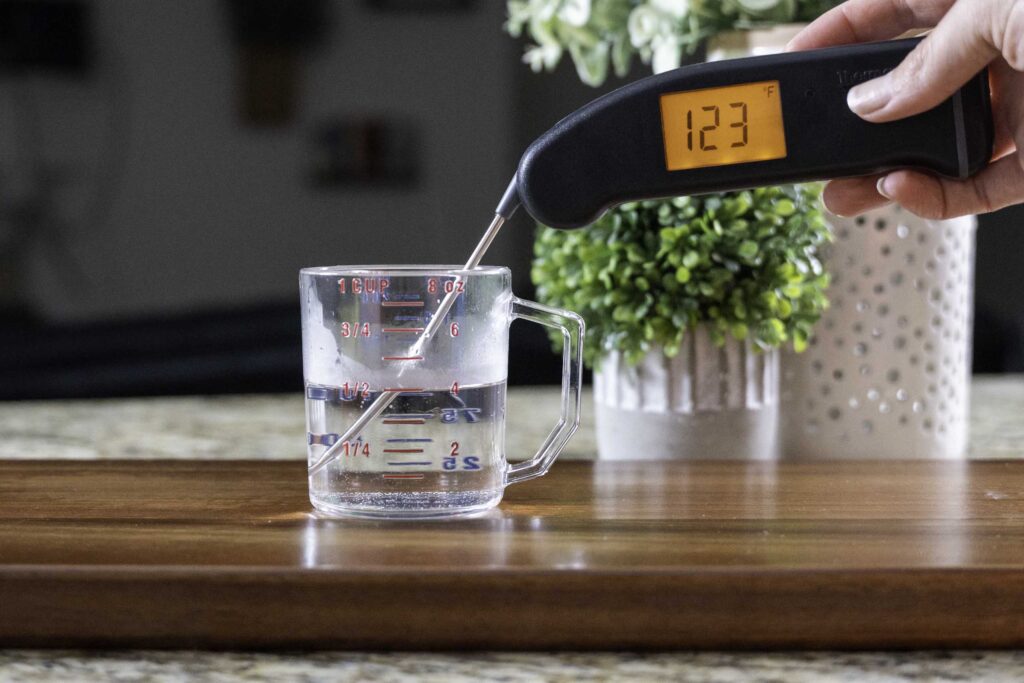
I remember the question I would ask myself is, how warm is the water supposed to be because I don’t want to ruin my dough. The answer is actually easier than you think. If you have a thermometer, you want your water to be between 100-130 degrees Fahrenheit. If you don’t have a thermometer, you will want your water very warm to the touch but not hot. I run my water on the hot setting for a little bit, touch the water and if it feels really warm but not so hot that I pull my hand away from the stream, I know I am good.
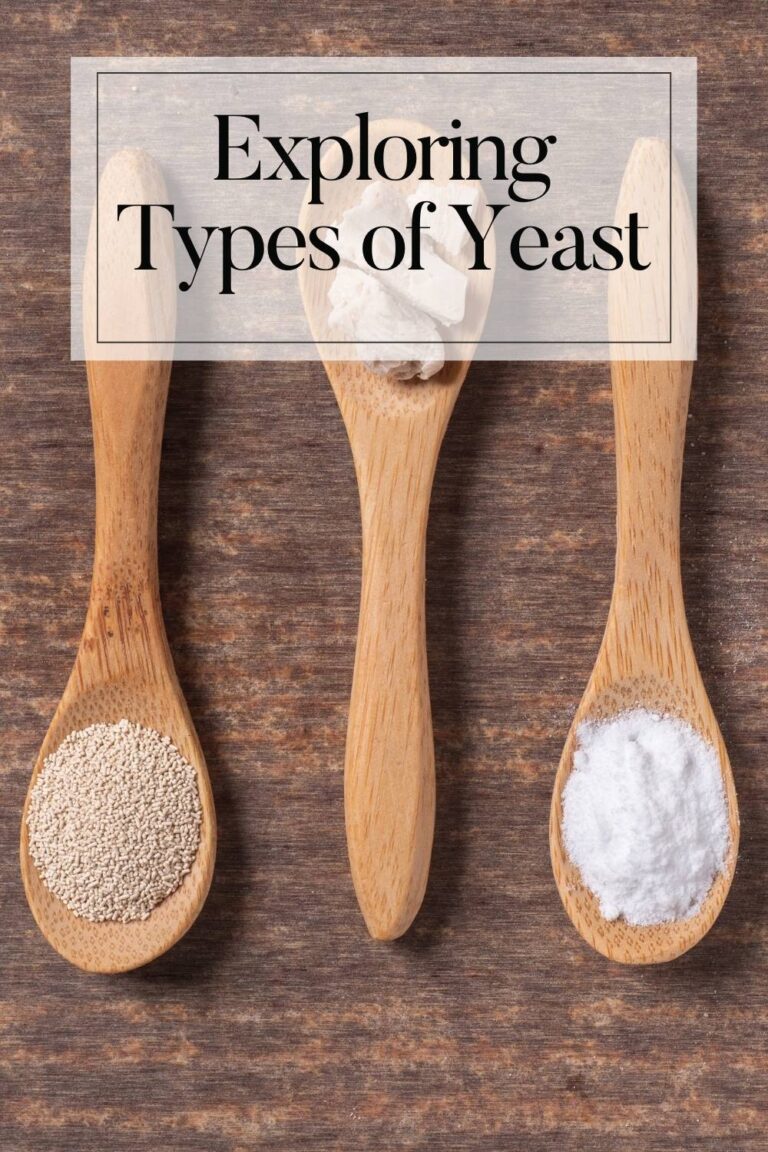
Rule #2 Always use fresh Active Dry yeast
Yeast is a living microorganism, and it can go bad or become inactive if it’s not stored and handled properly. Always check the date on the yeast package before use. Expired yeast may not be as effective in leavening dough and can result in baking failures, which can lead to frustration. Sometimes opened packages of yeast can become inactive before the expiration date. If you have not used your yeast or are unsure if it is still active, test it first.
If you follow these 2 rules, you should be able to have success in using active dry yeast. So let’s get into it!
Method #1 Pre-activating before adding other ingredients. This is the most common way people use active dry yeast.
You will need:
- Active Dry Yeast
- Warm Water (Between 100-130 degrees Fahrenheit)
- A small bowl or container
- A spoon for stirring
- Small amount of sugar (optional)
Weigh and add your warm water into your container. How much water do you use?
Active Dry yeast is dissolved in at least four times its weight in water. So, if your recipe calls for 1 packet of yeast that weighs .25 oz, you would need at least 1 oz of warm water to dissolve the yeast. Using more water won’t hurt your final product.
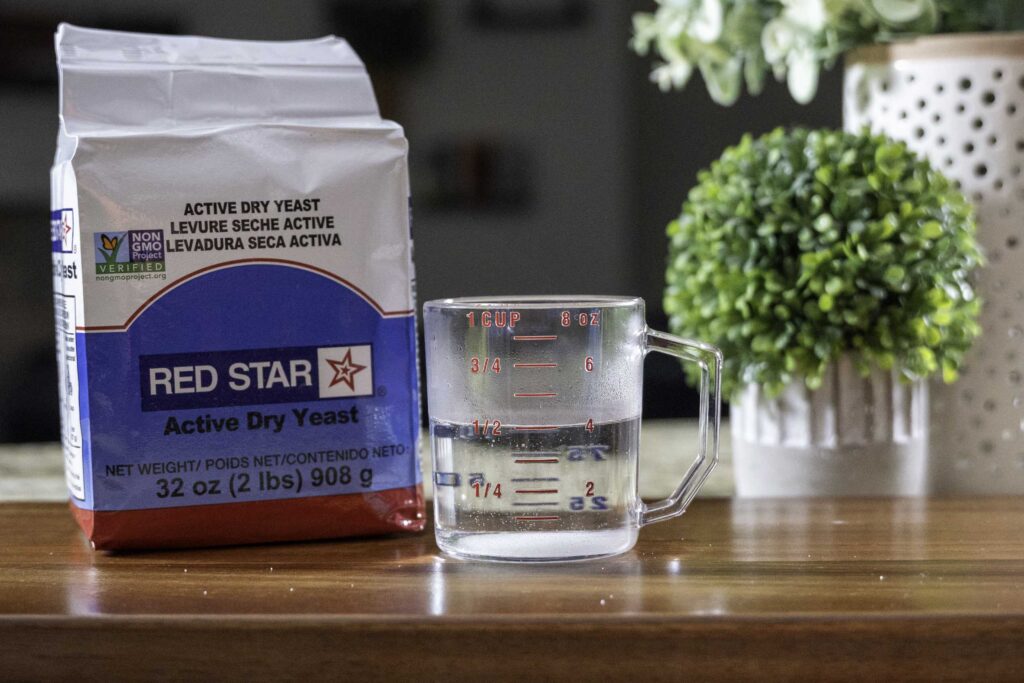
If you don’t have a kitchen scale, you can use this info to figure the amount of water to yeast ratio.
1 Packet of Yeast = 2 1/4 tsp yeast – use at least 2 Tablespoons warm water
Keep track of whatever amount of water you use to dissolve the active dry yeast. You will want to subtract the amount you use from the total amount of water needed in your recipe. For example, if I use 1/2 cup (4 oz) water to activate the yeast, I would subtract 1/2 cup (4 oz) from the total water in the recipe.
Sometimes people choose to add sugar when activating yeast to help the process. This isn’t totally necessary but I highly suggest it. I always add sugar to help activate the yeast quickly. If you do add sugar, just add a small amount (1/2-1 tsp will do the trick). The sugar is added to your warm water.
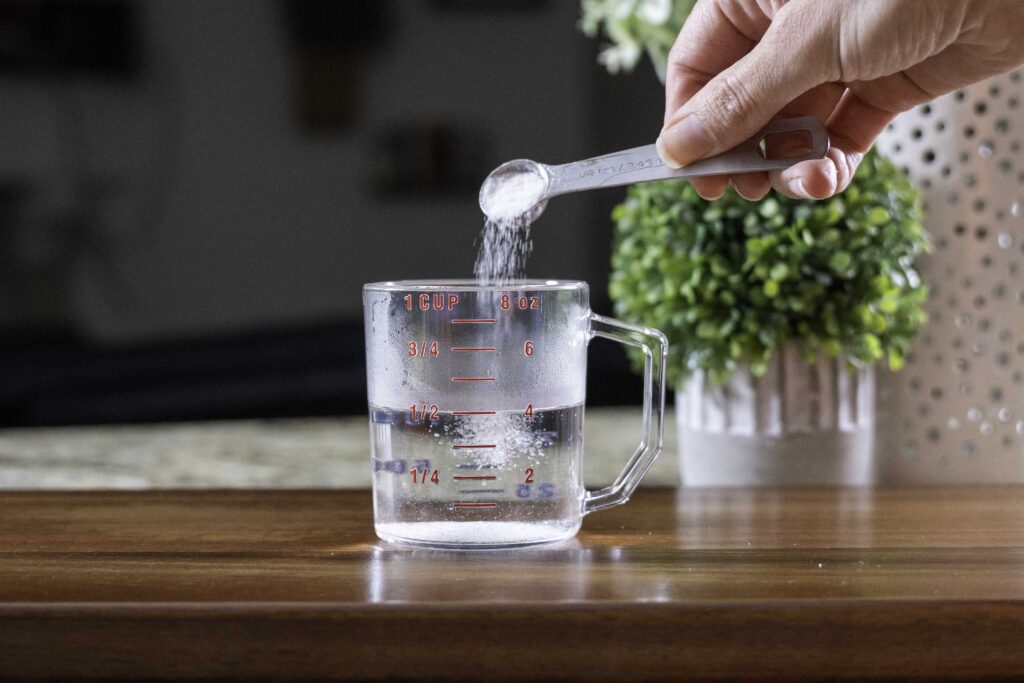
Next, sprinkle the yeast on top of the water.

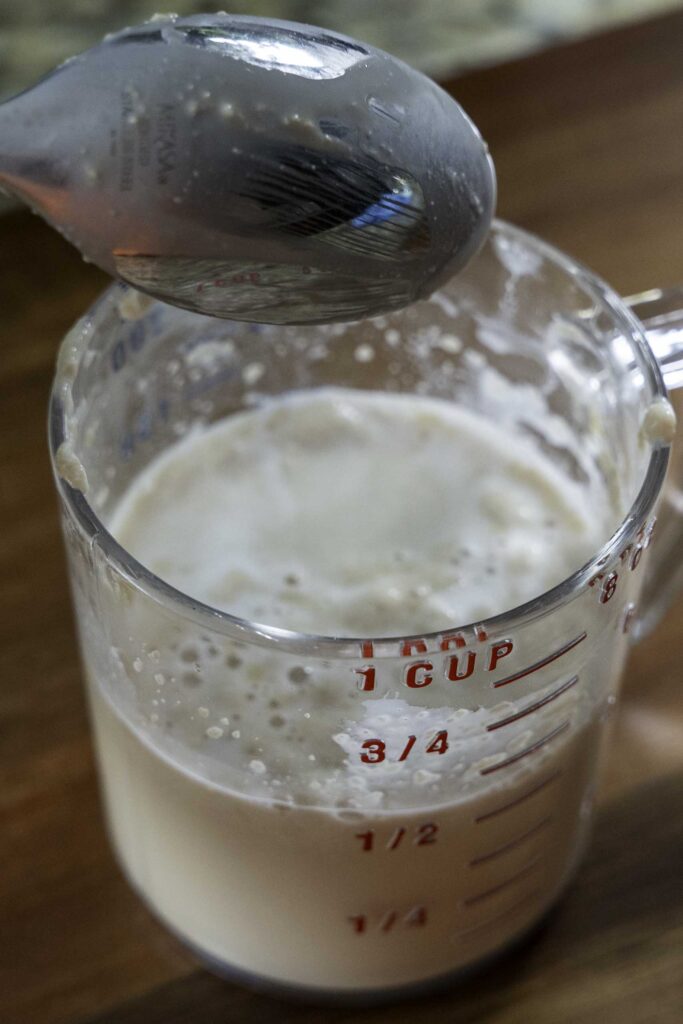
Stir the active dry yeast granules until there are no more dry granules on top.
Now you wait, well, you can get your other ingredients together too. You don’t have to sit and watch until it is ready but it won’t take long for you to see your active dry yeast start to take action.
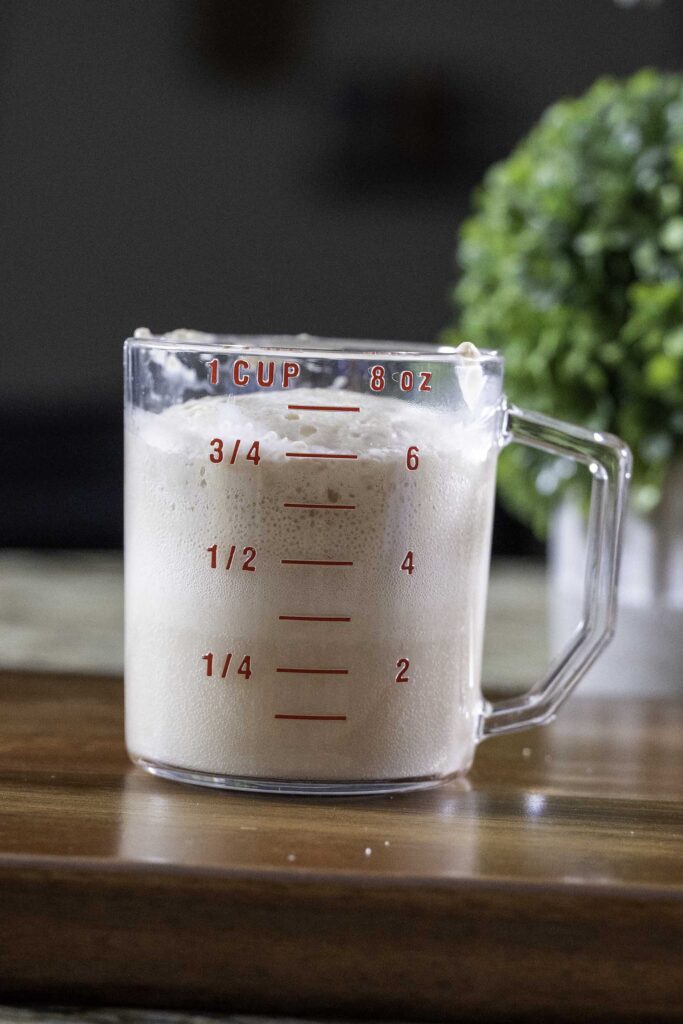
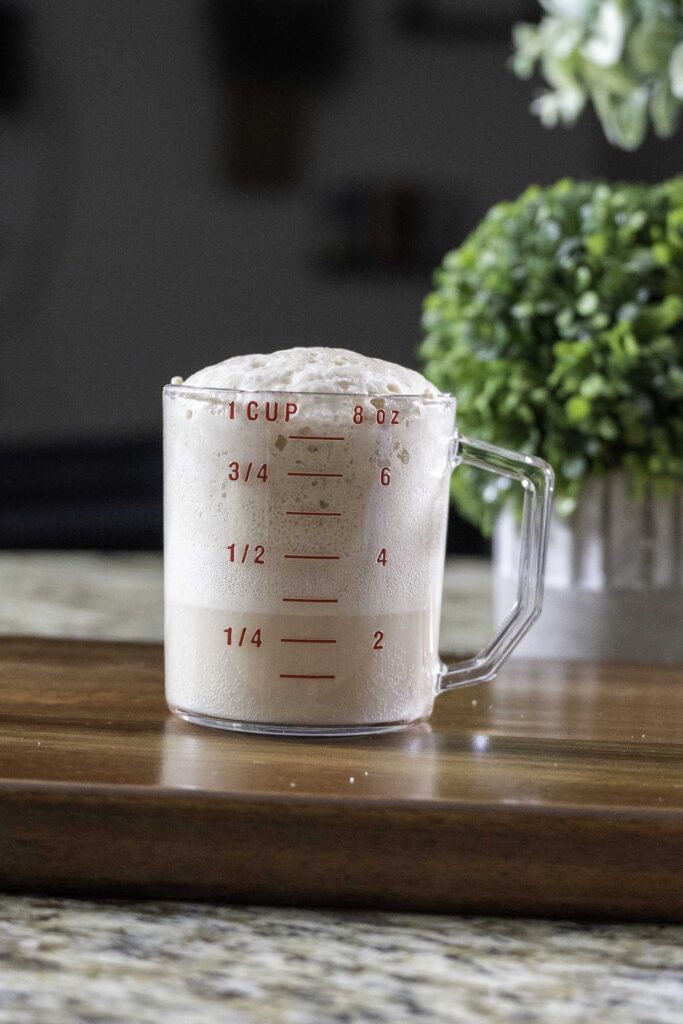
The active dry yeast granules will dissolve (3-4 min) and start to foam. When it is foamy (anywhere between 5-10 min), the active dry yeast is active and ready to use immediately.
When adding the activated (proofed) yeast to your recipe, add it last. I add liquid first, dry ingredients next, then finally the yeast mixture. Finish your dough by following the directions on the recipe.


Method #2 Adding with dry ingredients
This method is a little quicker and more like using instant yeast. The only difference is the temperature of the water has to be very warm when using active dry yeast. If you don’t use really warm water, the yeast will never activate and therefore will ruin all of your hard work. Yes, I am sadly speaking from experience.
Measure all of your dry ingredients. Add the active dry yeast to the dry ingredients. I like to use a kitchen scale to weigh all my ingredients for precision and accuracy.
Weigh or measure out the warm water according to your recipe. Just like in pre-activating the yeast, you want to use very warm water but not hot to the touch.
Add the warm water to your mixing bowl and then add dry ingredients. Mix according to the directions in your recipe and Wal-Ah! That is it! Pretty easy for the 2nd method of how to use active dry yeast.
Either of these methods work great and should provide you with the results in your yeast bread recipes.
Whether I pre-activate my yeast or mix it in with dry ingredients, I am always amazed at the magic of yeast and what it does to bread. I promise, learning how to use active dry yeast is easier than you think! Don’t wait! Go bake up something in your kitchen, you won’t regret it!